Your Cart is Empty
Offering ShopPay at Checkout. Buy Now, Pay Later!
Offering ShopPay at Checkout. Buy Now, Pay Later!

How to Make Stunning Epoxy Resin Wall Art: A Creative Guide
July 29, 2025 3 min read
How to Make Stunning Epoxy Resin Wall Art: A Creative Guide
Blank walls can feel intimidating. You want something unique, something that reflects your personality, but store-bought artwork often lacks thatpersonal touch. Enter epoxy resin art—a versatile medium that lets you create stunning, glossy masterpieces that capture light and add depth to any room.
Whetheryou're a complete beginner or looking to expand your artistic horizons, this guide will walk you through everything you need to know about creating captivating epoxy resin wall art. From setup tofinishing touches,you'll discover how to transform ordinary surfaces into extraordinary focal points.
🎯 Get Ready to Create
Before you begin, make sure you have your epoxy resin, protective gear, mixing tools, pigments, and a suitable work surface ready. A clean, well-ventilated setup is key to success.
Resin work is fun and rewarding, but safety is still key. Be sure to work in a well-ventilated area, wear gloves, and consider a respirator for longer projects.
Want more details on how temperature and humidity affect your pours? Check out our guide:
🖌️ Step-by-Step Guide to Creating Epoxy Resin Wall Art
Preparation Phase
Set up in a dust-free area away from direct sunlight. Cover your surface, elevate your board, and keep the temperature around 70–75°F. Lightly sand your panel and clean with a tack cloth.
Mixing and Pouring
Follow yourresin’s instructions carefully. Mix by weight, stir for three minutes, and separate into cups fordifferent colors. Add pigments slowly.
Creating Your Design
Try one of these fun pouring methods:
- Dirty Pour: Layer colors in one cup, then pour.
- Clean Pour: Pour colors separately and blend naturally.
- Flip Cup: Flip your panel over a cup of colors for a bold effect.
Manipulate the resin with combs, knives, orbytilting the board to shape your look.
Finishing Touches
Remove bubbles with a heat gun or torch. Let cure undisturbed for 24–72 hours.
🎨 Advanced Techniques: Adding Color and Texture
Onceyou're confident with basic pours, try exploring these creative methods:
Cells and Lacing Effects
Add a few drops of silicone oil or dimethicone to your resin mix. These additives help form circular patterns (called cells) by repelling color pigments.
Embedding Objects
Create dimension by embedding lightweight objects like dried flowers, photos, or fabrics. Pour a thin base layer, let it partially cure, then embed your items.
Alcohol Ink Techniques
Curious about blending pigments or layering textures for extra pop?Don’t miss:
Drop alcohol inks directly onto wet resin to create soft, blooming color effects.
Metallic and Mica Effects
Add shimmer with mica powders, metallic pigments, or gold leaf. Pearl powders give subtle iridescence, while metal leaf adds bold contrast.
Geode Art
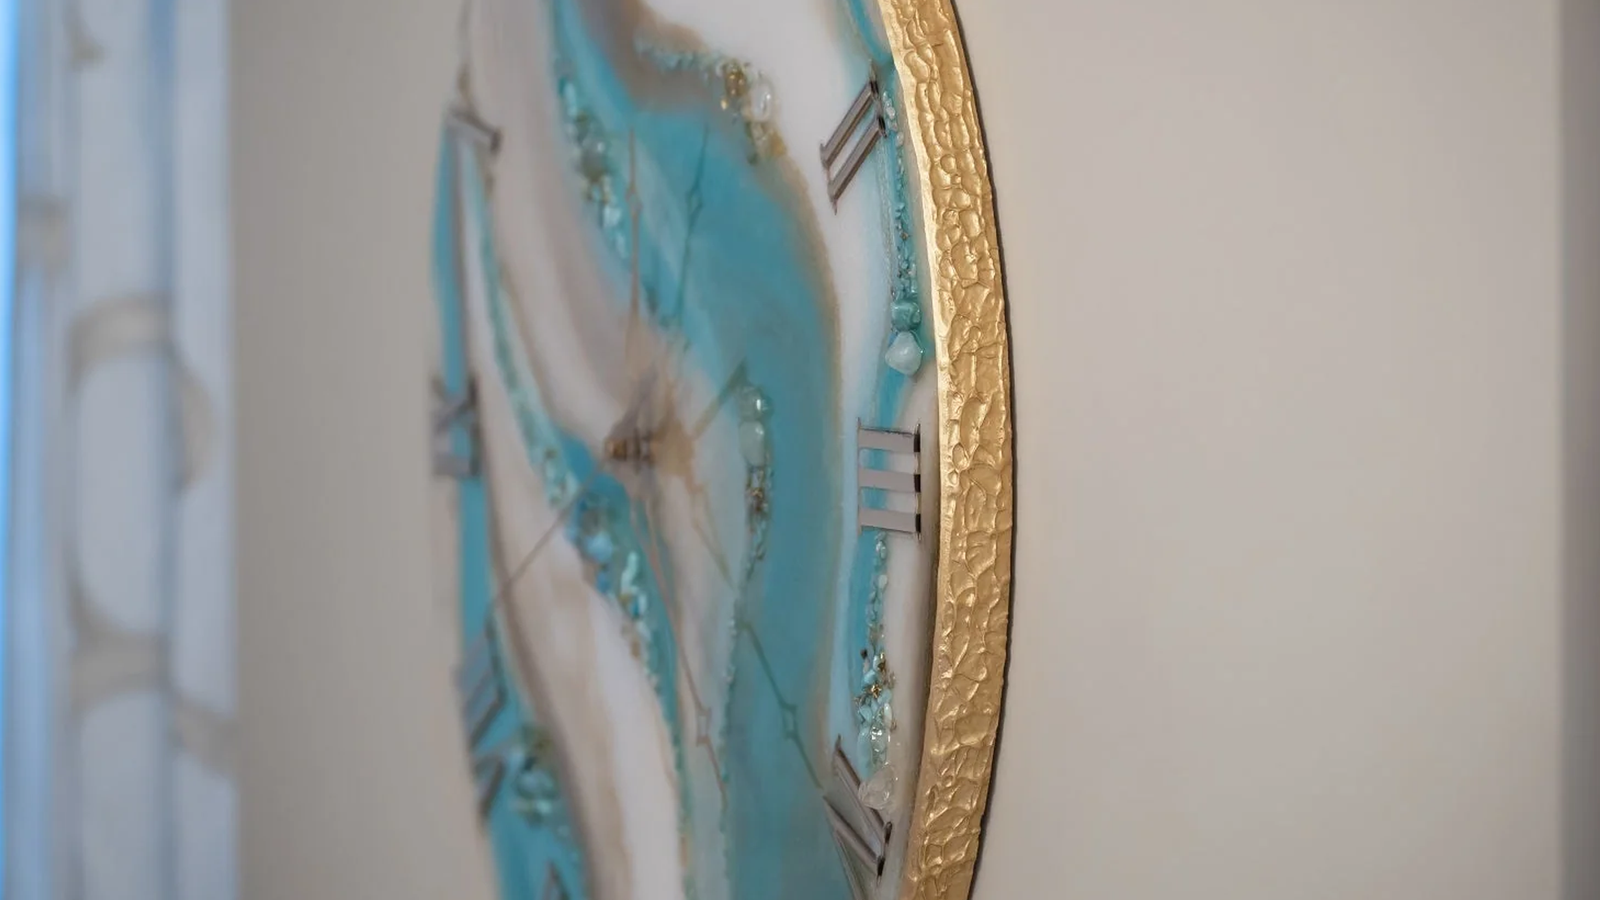
Build layered geode designs using glitter, crushed glass, stones, and resin tints. Pour in multiple steps to achieve a gem-like look.
🖼️ Design Ideas and Inspiration
- Ocean & Beach:Use deep blues and whites, add shells or sand.
- Abstract Landscapes: Flowing hills and sky with earth tones and shimmer.
- Geometric Patterns: Mask and pour in clean sections.
- Galaxy Themes: Metallic swirls and glitter with black or purple resin.
- Floral Preservation: Embed pressed flowers in clear resin.
Need inspiration? Scroll to the bottom of the blog for a gallery of real resin wall art created with Easy Pour Epoxy.
🧼 Tips for Displaying and Maintaining Your Art
Proper Curing and Finishing
Even if the surface feels dry, full curing takes a week. Avoid moving or hanging untilit’s fully cured.
Mounting and Hanging
Use French cleats or heavy-duty hardware for large pieces. Consider the wall type and anchor strength.
Cleaning and Care
Dust with a soft cloth or clean using mild soap and water. Avoid abrasives or harsh chemicals.
UV Protection
Avoid placing resin art in direct sunlight. Use UV topcoats for added protection.
Climate Considerations
Don’t hang near vents or heaters. Resin is durable but can warp under extreme conditions.
🧠 Final Thoughts: Unleash Your Creative Potential
Epoxy resin art gives you the freedom to create one-of-a-kind wall pieces. Whetherit’s your first pour or your fiftieth, every artwork tells a story.
So grab your pigments,prep your panel, and start pouring. Your next masterpiece is waiting.

