Your Cart is Empty
Offering ShopPay at Checkout. Buy Now, Pay Later!
Offering ShopPay at Checkout. Buy Now, Pay Later!

Mixing Magic: Creative Epoxy Blends for a Vibrant Look
July 18, 2025 3 min read
Mixing Magic: Creative Epoxy Blends for a Vibrant Look
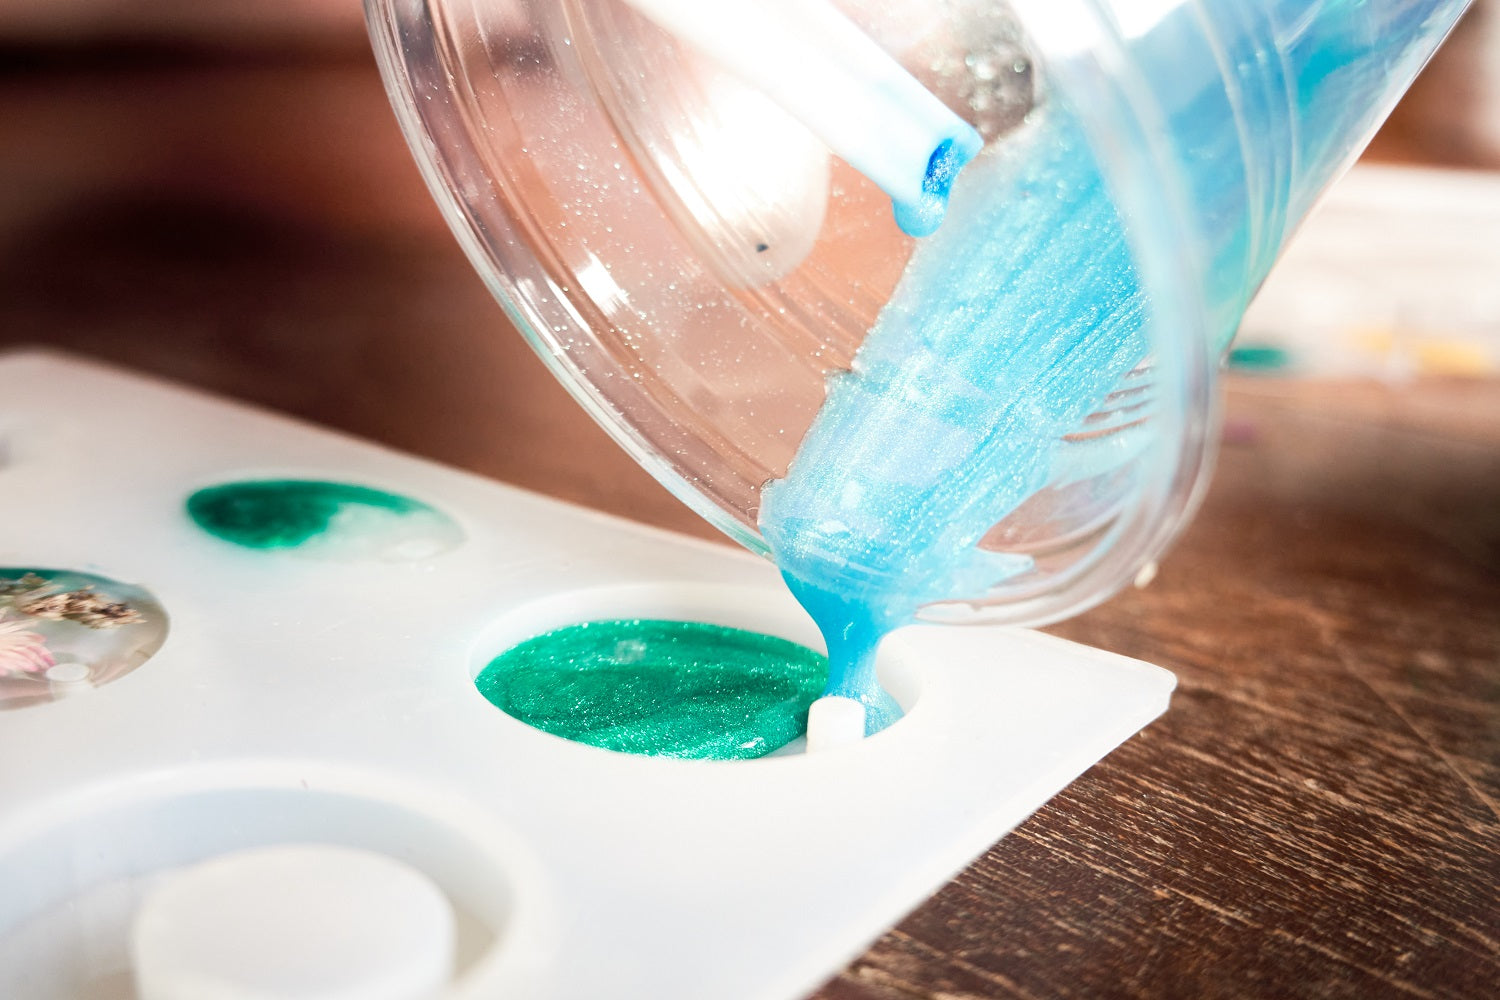
Epoxy resin opens the door to a world of color, movement, and individuality. While many artists and DIYers are familiar with basic epoxy projects,there's a level of creativity that comes frommastering custom color blends. This blog explores advanced techniques and original ideas for blending pigments, dyes, and additives to create dynamic, vibrant epoxy pieces.
Why Focus on Epoxy Blends?
While other blogs explore heat management or texture creation, this article dives into the artistry of mixing colors and achieving stunning visual effects. Perfect for artists and crafters who want to move beyond the basics, these techniques bring depth, vibrancy, and sophistication to any project.
1. Understanding Color Chemistry in Epoxy
Not all pigments behave the same way in epoxy. Somefloat, somesink, and others disperse based on viscosity, temperature, and curing time.
- Mica Powders: Add shimmer and depth. Best used with clear epoxy like Easy PourTable Top Epoxy toshowcase their full effect.
- Alcohol Inks:Create diffused, blooming patterns. Ideal for "petri dish" effects but can bleed if overused.
- Resin Dyes:Offer intense transparent or opaque color. These are stable for layering andfade-resistant.
Pro Tip: Always test a small batch first. Some colorants can affect cure time or clarity.
2. Advanced Blending Techniques
- Gradient Fades:Pour multiple shades side by side and tilt your mold or surface to create natural transitions.
- Color Blocking: Use barriers (like tape or silicone dividers) to keep colors in defined zones.
- Drop & Drag: Drop inks or dyes onto your resin and drag them using a toothpick or stylus for controlled marbling.
- Layered Transparency: Pour a translucent color, allow it to partially set, then add a second contrasting hue for depth and dimension.
Important Note: These layering techniques are best done using Easy Pour Deep Pour Epoxy or similar slow-setting formulas. Do not manipulate resin once it starts to gel, as this can cause clouding, unevencure, or surface defects.
3. Combining Color with Additives
- Glow Powder + Resin Dye:Great for night-light trays or luminous art.
- Metallic Flakes in Color Blocks:Add shine and intrigue without muddling the blend.
- Pigment Pastes + Alcohol Ink: A bold base color with wispy top effects.
These combinations are especially effective in coasters, jewelry molds, and layered geode pours.
4. Avoiding Common Color Blending Mistakes
- Muddy Colors:Caused by overmixing or poor pigment pairing. Stick to 2–3 compatible tones.
- Pigment Separation: Let resin sit after blending for 2–3 minutes toobserve settling before pouring.
- Color Fading: Store your finished pieces away from directsunlight, or use UV-resistant resin if needed.
5. Showcase Your Signature Style
Theultimate goal of blending colors is to develop a signature look. Document your pigment ratios, techniques, and results. Not only does this build consistency—it positions your brand or artstyle as instantly recognizable.
Final Thoughts
Mastering creative epoxy blends is part art, part chemistry. With the right tools, products, and timing, you can achieve mesmerizing results that elevate your work from simple pours to expressive pieces. Let Easy Pour Epoxy be your partner in color innovation—explore ourTable Top, Deep Pour, and Laminating Epoxies to discover which blend brings your vision to life.

