Your Cart is Empty
Offering ShopPay at Checkout. Buy Now, Pay Later!
Offering ShopPay at Checkout. Buy Now, Pay Later!

Creating Unique Decorative Items with Epoxy Resin
February 10, 2025 4 min read
Creating Unique Decorative Items with Epoxy Resin
Epoxy resin’scrystal-clear finish, versatility, and ability to preserve and elevate ordinary objects make it an irresistible material for crafting enthusiasts. Whetheryou're looking to create stunning coasters, beautiful jewelry, or even bold furniture pieces, epoxy resin offers endless possibilities.
In this blog post,we'll explore what epoxy resin is, its widespread popularity, and how you can use it to craft unique decorative items of your own. From beginner-friendly tutorials to advanced tips and real-life project inspiration,we've got everything you need to start your resin art adventure!
What Is Epoxy Resin and Why Is Itso Popular?
Epoxy resin is a two-part mixture made up of resin and a hardener. When combined, these components undergo a chemical reaction that transforms the liquid mixture into a durable, glass-like solid surface.It's beloved by DIYers for its high-gloss finish, excellent adhesive properties, and ability tobe molded andcustomized into countless creative designs.
Key Reasons for Epoxy Resin's Popularity:
-
Versatility: It can be used to create everything from small trinkets to large furniture pieces.
-
Durability:The cured resin is scratch-resistant, waterproof, and long-lasting.
-
Aesthetic Appeal: Its glossy, transparent finish enhances colors, inclusions, and textures.
Unique Decorative Items You Can Create with Epoxy Resin
The beauty of epoxy resin lies in its adaptability. Here are just a few creative items you can make:
1. DIY Resin Coasters
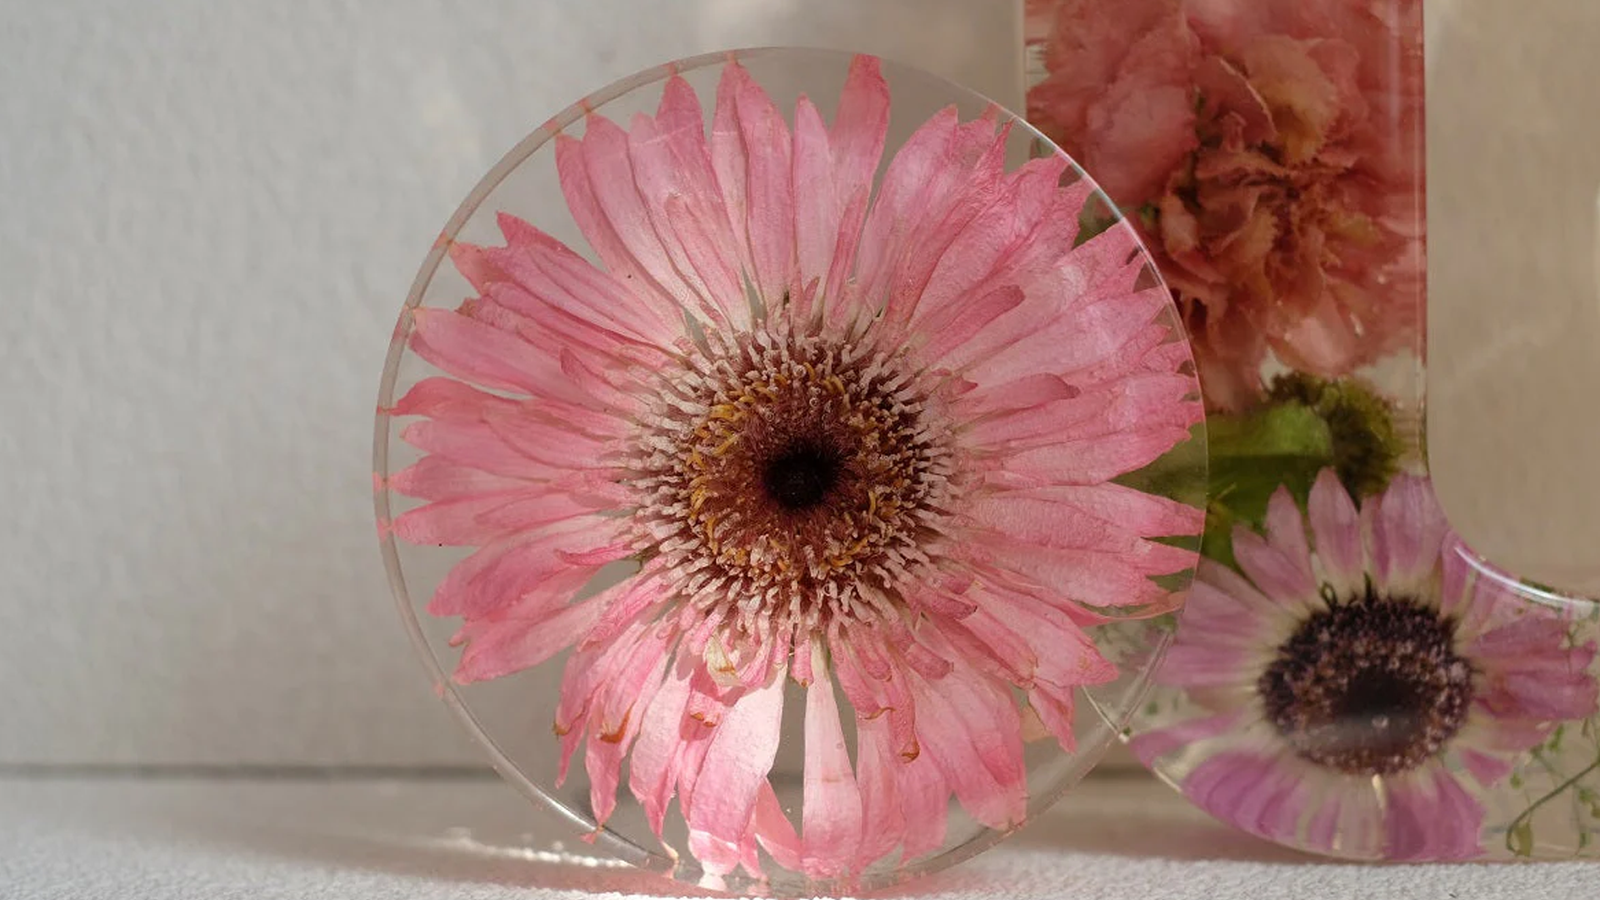
Resin coasters are a beginner-friendly project with endless customization options. Add gold flakes, pressed flowers, or even small photographs to create personalized designs.
2. Jewelry and Accessories
Create one-of-a-kind earrings, necklaces, or keychains using epoxy resin and colorful pigments. Add inclusions like glitter, leaves, or small charms for extra flair.
3. Epoxy River Tables
For furniture enthusiasts, resin river tables are show-stopping pieces that bring elegance and artistry to any room. Pair the resin with natural wood slabs for a stunning "river" effect.
4. Decorative Trays and Dishes
Use molds to create practical items like serving trays or decorative bowls.They're functional, stylish, and make excellent gifts!
5. Resin Wall Art
Turn resin into an artistic medium by creating abstract wall art. You can layerdifferent colors, pour them in waves, or even include textured elements like stones or shells.
Step-by-Step Guide for Beginners
Feeling inspired?Here’s how to get started with epoxy resin, step-by-step.
What You'll Need:
-
Epoxy Resin and Hardener
-
Mixing Cups and Sticks
-
Protective Gloves and Mask
-
Silicone Molds (or other molds of your choice)
-
Pigments, Dyes, or Paint
-
Decorative Additions (e.g., glitter, flowers, charms)
Step-by-Step Process:
-
Prepare Your Workspace
Choose a well-ventilated area and cover your workspace with plastic or parchment paper. Wear protective gloves and a mask to avoid contact with resin fumes.
-
Mix the Resin and Hardener
Follow the manufacturer's instructions for the exact resin-to-hardener ratio. Stir the mixture gently but thoroughly to avoid creating bubbles. Work in smaller batches.
-
Add Color or Decorative Touches
Pour pigments, paint, or inclusions into the resin mixture. For a marbled effect, swirl multiple colors together.
-
Pour into Molds
Slowly pour the resin mixture into your molds, ensuring it spreads evenly.Carefully use a heat gun or torch to pop surface bubbles.
-
Cure Your Project
Allow the resin to cure completely, which might take 24 to72 hours, depending on your product.
-
Finish and Polish
Once cured, remove your project from the mold and sand any rough edges with fine-grit sandpaper.
Tips for Creating Your Own Designs
Taking your resin projects from "good" to "great" requires a touch of creativity and a handful of expert tips.
Experiment with Color Palettes
Choose color combinations that complement your home decor or match the theme of a gift recipient’s style. Metallics and pastels are particularly popular in resin art.
Use Unique Mold Shapes
Molds come in a variety of shapes, from geometric to floral.Don’t hesitate to try unconventional shapes for added intrigue.
Incorporate Nature
Pressed flowers, leaves, and wood slices add an organic and timeless aesthetic to resin projects.
Think in Layers
Build depth by pouring the resin in multiple layers, embedding items like glitter or confetti between each pour.
FAQs on Epoxy Resin
Q:What’s the easiest project for resin beginners?
A: Coasters and jewelry are great starting points, as theyrequire minimal materials and are easy to make.
Q: How do I fix bubbles in my resin?
A: Use a heat gun or hairdryer to lightly pass over the surface of your poured resin and pop the bubbles.
Q: Can epoxy resin withstand heat?
A: Yes, most epoxy resins are heat-resistant. However, always check your specific resin's heat tolerance before placing hot items on it.
Safety and Environmental Considerations
While epoxy resin is a fantastic crafting medium, it requires careful handling. Here are a few safety tips:
-
Always Work in a Ventilated Space
Resin fumes can be harmful if inhaled for extended periods. A well-ventilated area or respirator isa must.
-
Wear Protective Gear
Gloves, goggles, and masks protect your skin and eyes from resin contact.
-
Dispose of Resin Properly
Never pour leftover resin down the drain. Allow unused resin to cure fully before disposing of it as solid waste.
Share Your Creativity with the Community
Now thatyou’re equipped with all the tools and tips to get started,it’s time to create your own one-of-a-kind pieces! Whetheryou’re designing elegant coasters or tackling an ambitious resin river table, your imagination is the limit.
We’d love to see what you create! Share your epoxy resin projectswith us for a chance to be featured in our blog and community posts.
Happy crafting!

